Hi all! I hope everyone is enjoying their spring so far......it's just kind of blown right by, and now we're almost into Summer already!
I love decorating for the different seasons. I like having different colors always revolving in my decor, so it's not always same ole, same ole. Of course, making most of the decor in my house is always very fun and satisfying.
I'm going to show you how I made the Spring Bouquet using my
Silhouette Cameo. I seriously don't think I could go a day without this machine! The possibilities for this machine is seriously endless. You are bound only by your imagination! They have cut files available for absolutely anything that you would ever need, and are constantly adding new ones. Their artists are phenomenal!
First I made a bunch of the flowers using the cut file named
3d peony at the Silhouette online store. This is what it looks like all together:
Isn't it beautiful! It's amazing that it's completely made from paper!
This is what all the pieces look like when you first cut them:
To achieve the "curled up" look on the petals, just take a rounded object like a pencil, or I used the end of my
Silhouette weeding tool, gently pull out from the center using your thumb underneath to curl each petal upward.
I alternated starting at one side curling one direction, and then the other, and some of them straight out. I think that gives it a more natural "not so perfect" look, and each flower will look different. You'll get the hang of it after putting your first one together, as far as how much to curl on each piece to achieve the look you want. Here are the larger pieces all curled:
When you start on the smaller pieces, they have skinnier petals, so you have to be careful while curling....I tore a few! I found that if I held each petal just a little out from the center it was much easier.
Now just start layering, starting with the larger pieces and working your way to the center, twisting and rotating each layer until it looks just right. I used a glue dot in the center of each of the layers to stick them together.
Now the center of the flower was my favorite to do! It was so fun! This is what it looks like after it's cut. Just tiny little fringes.
Then start rolling, rolling, rolling......(now that song is stuck in my head!)
One of the larger glue dots fit perfect on the bottom - the bottom is the non fringed part. Then the fun part! Using your thumbs, from the outside layers just start pulling outward working your way in separating all the little fringes. So cool! (as you can see, I'm easily amused!)
and voila!
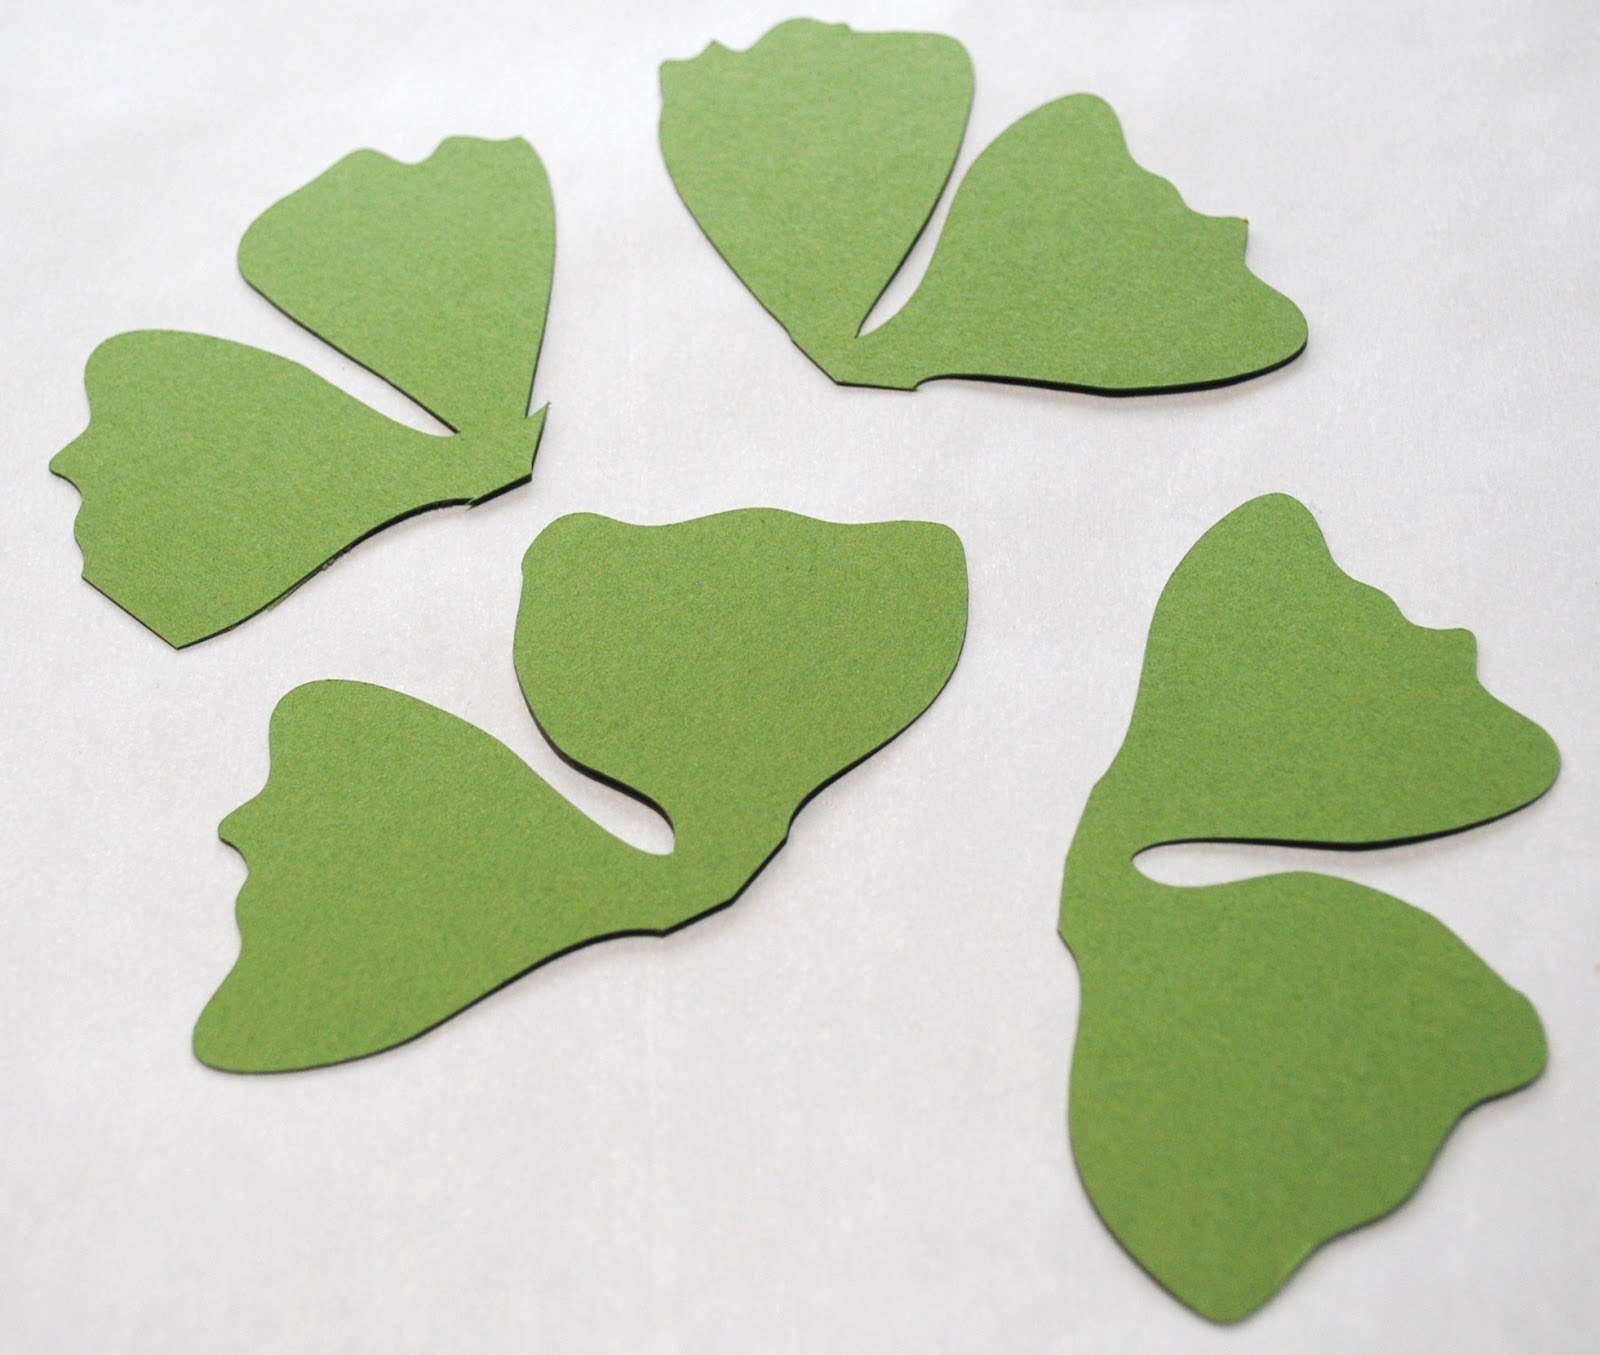
Now to make the leaves, I just cut several of just the larger layers of the flower petals in green and cut them apart. I learned that trick from another tutorial on the
Silhouette Bog!
I did the flowers in 3 different colors to complete my bouquet.
I went outside and gathered a bunch of small branches to attach my flowers to. I loved the pretty look of the paper and the rustic look of the wood paired together. I thought they looked fabulous in my owl pitcher that I purchased from Hobby Lobby. I love that little guy!
I hope you liked the tutorial for the Spring Bouquet. Tomorrow, I will show you how I made the leaves on the branches. They are made from a cut file from the Silhouette online store also, but I had to alter it a little to make it work. Silhouette makes it so easy to do that!
If you love the flower, but don't own a Silhouette, I will be happy to cut as many as you need! You can go to my
Etsy shop to purchase them.
Leave any thoughts, questions or suggestions in the comments section!
Thanks for stopping by!


